How do you do build an emergency food storage supply? The answer is easier than you think. By making a few small additions to your grocery list each week you can be on your way to building a life-saving emergency food supply with ease.

There are many reasons why someone might want to stockpile some food. Whether it’s being ready for a natural disaster, preparing for a regional blackout or concerns about a long-term SHTF scenario. Whatever the reasons, having a selection of healthy foods set back for a rainy day is always a great idea.
Whether you want to be ready to go 72 hours, 2 Weeks, Months or even Years, you need a plan to make it happen. There are a few questions that you need to ask yourself before you can start making your emergency food storage plan.
- What do you currently have for non-perishable foods?
- What are you preparing for?
- How much money do you have to invest?
- How much time do you have to invest?
- Do you have the necessary storage space?
The answers to these questions will help guide you to your preferred level of readiness but all of this starts with knowing where you are and knowing where you want to go.
To build a one-year emergency food supply, you will most likely start small and add to your food stores over time, but if you have the money, most emergency food companies offer kits from 3 days to as much as a 1 year.
Emergency Food Supply Basics
Before getting started there are some things that you need to start thinking about. As with most things, having a good foundation to build upon will pay dividends down the road. To build and maintain a successful emergency food supply you need to set the right goals, calculate the correct amount needed, and properly store it so it will be there when you need it.
Setting Goals
First things first, you need to set some goals. In this case, you need to determine how many days, weeks or months you are preparing for. FEMA recommends having 72 hours, which is good for a bug out bag but not for your home. With blizzards, floods, and ice storms that can leave you cut off from help for days or even a week or more in some cases, having just 3 days is not enough.
There are are a few states that have changed there recommended minimum standards to 2 weeks instead of the 72 hours recommended by FEMA. This is a definite improvement and should be used as a minimum standard for everyone.
Calculating Caloric Needs
Next, you will need to figure out how many calories each person in your family will need, per day. This will give you a number to work with. Then add up everyone’s numbers and multiply by the number of days you want to prepare for. It’s best to start small and build on it little by little.
The chart below was made using information from a more detailed chart at WebMD, check out the full chart here.
| Gender | Age | Calories Per Day |
| Children | 2-3 | 1000-1400 |
| Female | 4-13 14-50 50+ | 1400-2200 2400 2000-2200 |
| Male | 4-13 14-50 50+ | 1600-2600 2800-3200 2400-2800 |
The numbers in the chart above are just estimates, for a more accurate number that would reflect an individual
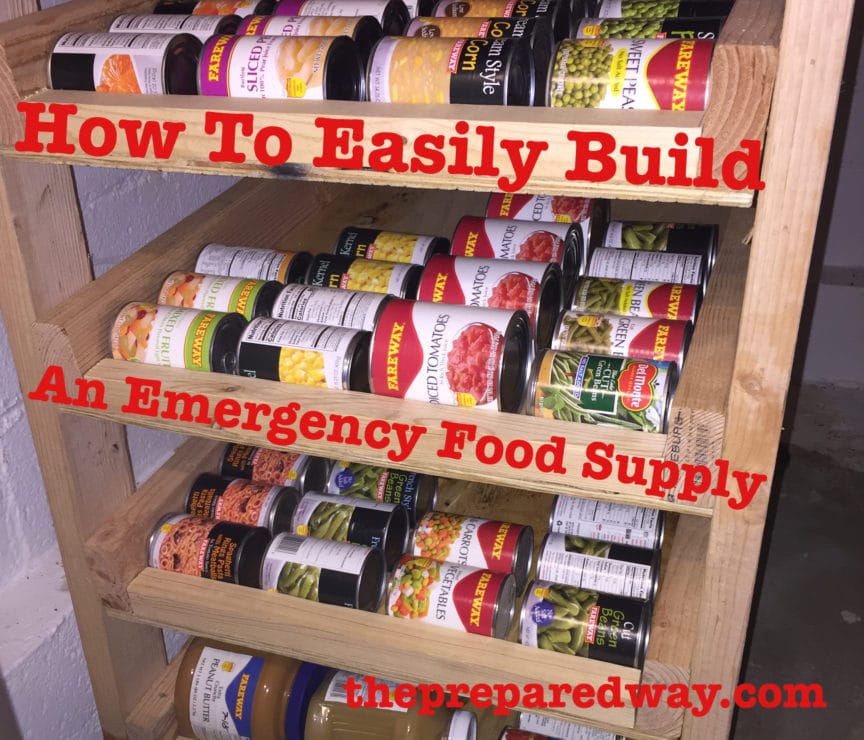
Storing Your Stockpile
As you are building your emergency food supply you will start to accumulate a good stockpile of extras and your cupboards or pantry may get crowded. You will need to have a cool dry place to keep your emergency supplies safe.
It’s also important to not put all your eggs in one basket. Keep some in your pantry, some in your basement, and some in your garage. Another thing to consider is the type of emergency are you most likely to encounter. If you are likely going to have flooding then it wouldn’t be a good idea to store the majority your food preps in the basement or on the lower parts of closets on the main floor. If you are likely to encounter tornados then the basement might be your best bet.
72 Hour Kit
Where do you start? I always recommend starting with a basic 3 day/72 hour food supply. Before you ever think about building an emergency food supply for your home, you really should build a Bug Out Bag/Bail Out Bag.
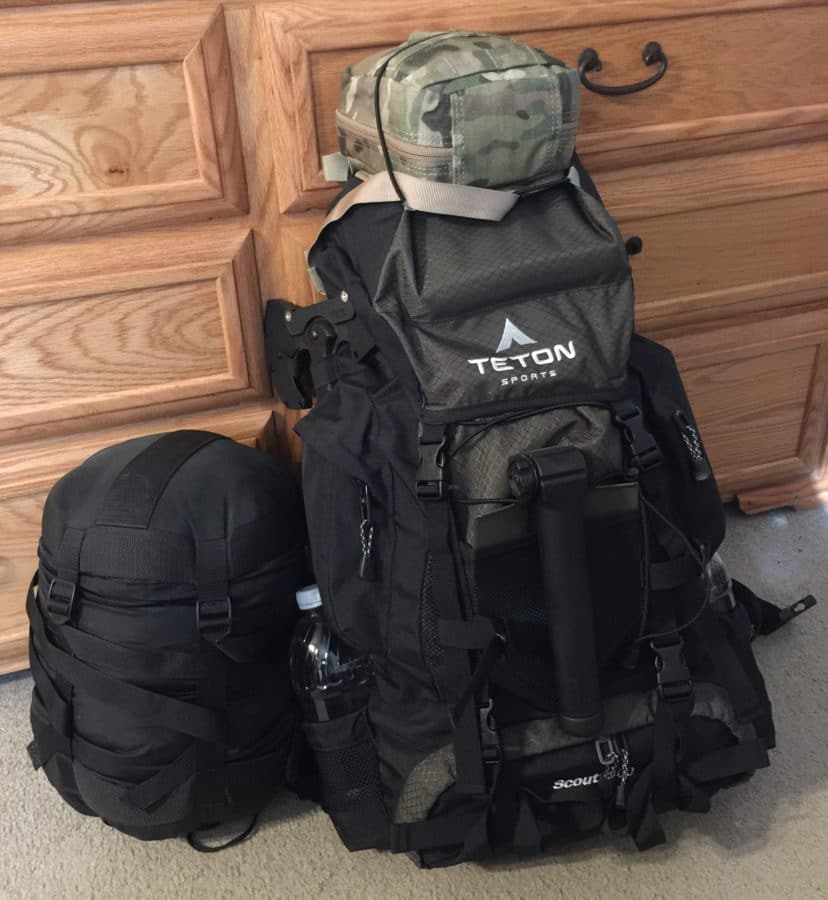
This bag will include food, water, and other essentials that will help you out if you ever had to leave your home at a moments notice. For more information on building a Bug Out Bag check out this article – How To Build A Bug Out Bag/Kit – A Practical Guide
One of the worst things someone can do is look at SOS ration bars and think that one package has you covered for 72 hours. To last 3 days, you would only get 1200 calories a day.
If you are going to just sit and do nothing for 3 days you might be okay.
NOTE: For 72-hour kits, I recommend foods that require little or no preparation. If you have something that does require preparation be sure to have the necessary equipment.
For a complete guild on what food options are best for your 72-hour kit, check out this article; Bug Out Bag Food: What’s The Best Food For Your Bag?
2 Week Supply
Now that you have your 72-hour kit ready for an emergency evacuation, you need to start thinking about surviving in your home or sheltering in place. Your home provides a much safer shelter than a FEMA tent or any temporary shelter for that matter.
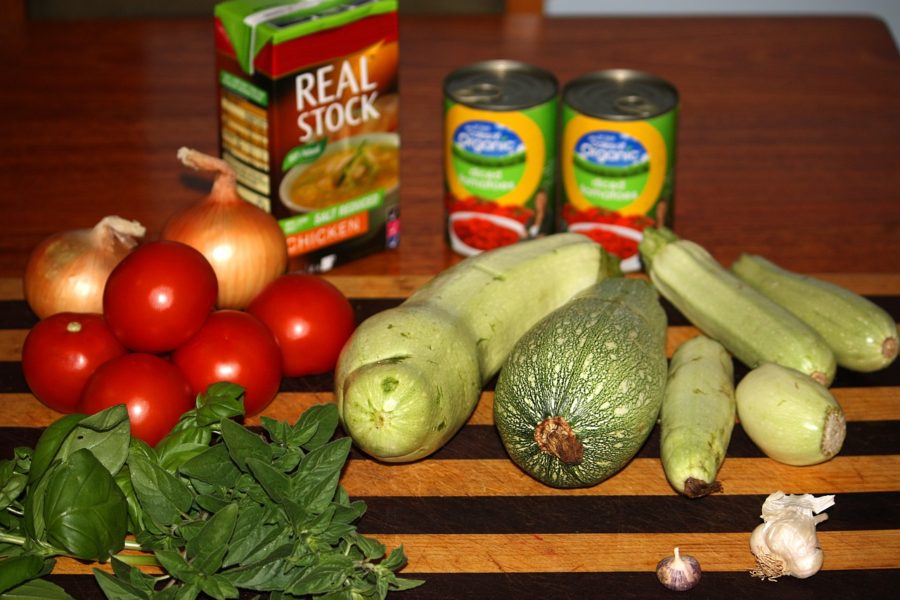
I don’t know about you but we like to eat healthy when we can, which often requires weekly trips to the grocery store for fresh fruits and vegetables. When it comes to emergency preparedness “fresh” foods go by the wayside. Remember that you will want non-perishable foods (i.e. foods that do not require refrigeration to prevent spoilage) So, to have fruits and vegetables the next best thing is canned and processed foods.
Getting Started
For a 2-week emergency food supply, it’s important to pick food items that you already use on a daily basis. Why? There are a couple of reasons for this, the overall comfort of you and your family. Also, doing it this way, your foods will never go beyond the expiration date and/or spoil.
During an emergency situation, your family will experience higher levels of stress than normal, especially younger children. Food already has calming and comforting qualities, so having familiar foods will offer another level of comfort and stress reduction.
Also by choosing foods that you already use on a daily basis, you will be able to rotate these foods periodically and will use them before they expire or go bad.
NOTE: Many processed foods, if stored properly, will remain good long after the expiration date.
Using these types of foods and methods you can extend your readiness level from weeks to months just by incrementally adding to your pantry. One thing I like to do is watch for sales on things that are not on your weekly grocery list.
QUICK TIP – Keep a permanent marker near your main pantry area and write the month and year when you purchased the items on an easily visible location. By doing this you will be able to quickly identify when items need to be rotated.
Canned Goods
Canned goods have a decent shelf life and are ready for consumption, all you need is a can opener. Another great thing about canned goods is the huge variety of fruits, vegetables, and meats that are available. You can also get premixed “meals” like soups, stews, and pasta. I know my kids love Spaghetti O’s and Ravioli, but if I have the choice I won’t touch the stuff.
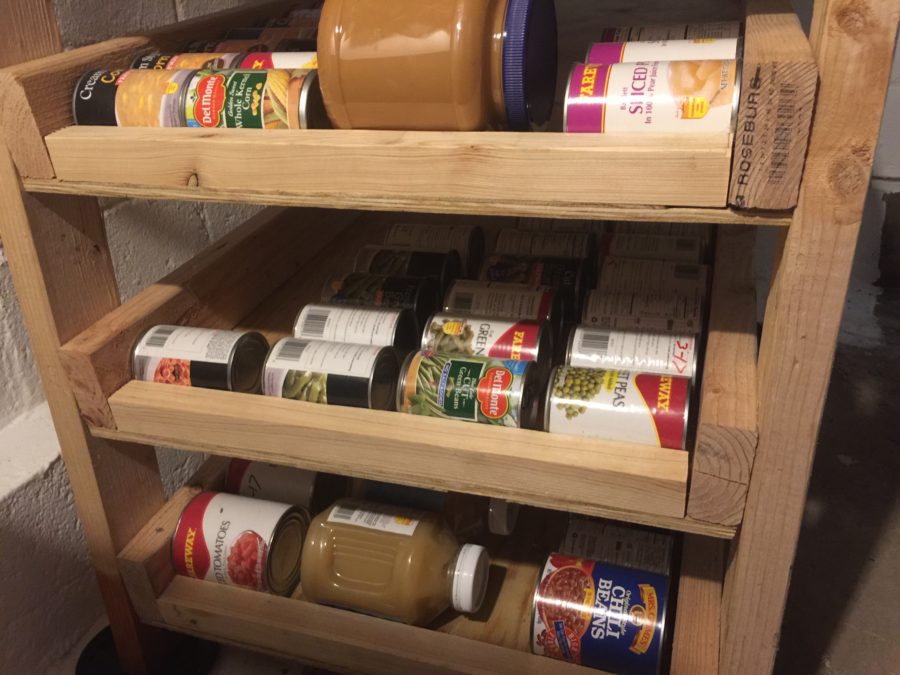
If you keep your eyes open for specials you can find canned goods go on sale for as much as 75% off or more. Often when they have sales like that they also have a limit of 4 or 6 cans so I will often stop back before the sale ends and pick up some more, this is a great way to add to your pantry and save some money doing it.
NOTE: When choosing cans for long-term storage, be sure to pick cans that do not have dents or signs of rust or other damage.
Processed Foods
Processed foods include prepackaged meals like Hamburger Helpers, Mac & Cheeze, and other products like powdered milk and potato buds. These foods do have their place in everyone’s pantry but some of these do require other ingredients to make, so keep that in mind when choosing these items for your emergency supplies.
Recommendations
Unfortunately, it’s difficult to give recommendations for these types of foods because everyone’s food preferences and dietary needs are different. You know what you and your family like and don’t like so plan accordingly.
Long-Term Food Storage
The ultimate goal of having six months to even a year or more emergency food supply isn’t for everyone but it can be achieved if you have the storage space, it just takes time.
For emergency food supplies of this quantity, you will not likely be able to rotate out the food fast enough to utilize all of the foods that you use daily, with the exception of canned foods.
Long-term emergency food storage requires a different approach. There are two main ways to go about it, pre-packaged freeze-dried foods or DIY. Freeze-dried costs more but requires less preparation and work. DIY costs less but does require a lot more work and planning on your part. As with most things, it’s not a bad idea to have some of both.
Freeze-Dried
Pre-packaged freeze-dried foods are perfect for long-term storage as most manufacturers list a shelf life of 25+ years. These foods retain their nutritional value and taste, even after many years of storage and usually taste pretty good too.
Freeze-dried foods are offered in a few different configurations, complete entrees, sides, and individually packaged fruits, vegetables, and meats. This offers some flexibility when making your meal plan, you can choose easy entrees for quick meals and individual ingredients to complement a meal made from fresh veggies or harvested game.
One of the only real drawbacks to freeze-dried foods is the cost. When compared to other long-term food storage options it is on the more expensive end of the cost spectrum.
Recommendations
There are many companies that make high-quality freeze-dried foods for long-term emergency preparedness. Wise, Legacy, and Mountain House just to name a few.
These are all great options. I’ve eaten plenty of Moutain House over the years, which I do like quite a bit but the best bang for your buck is Patriot Pantry. Patriot Pantry from My Patriot Supply is by far the best value when it comes to freeze-dried foods for long-term storage but if you go with any of the major brands you can’t go wrong.
QUICK TIP – I would get samples from each of the main companies and see what you and your family like before making a large purchase.
DIY – Long-Term Food Storage
You may be asking yourself, what is DIY long-term food storage? It’s using buckets, mylar bags, and oxygen absorbers with staple foods like wheat, rice, oats, beans, and sugar for long-term storage. Many of these staples, when stored properly, can last 20 to 30 years or even longer.
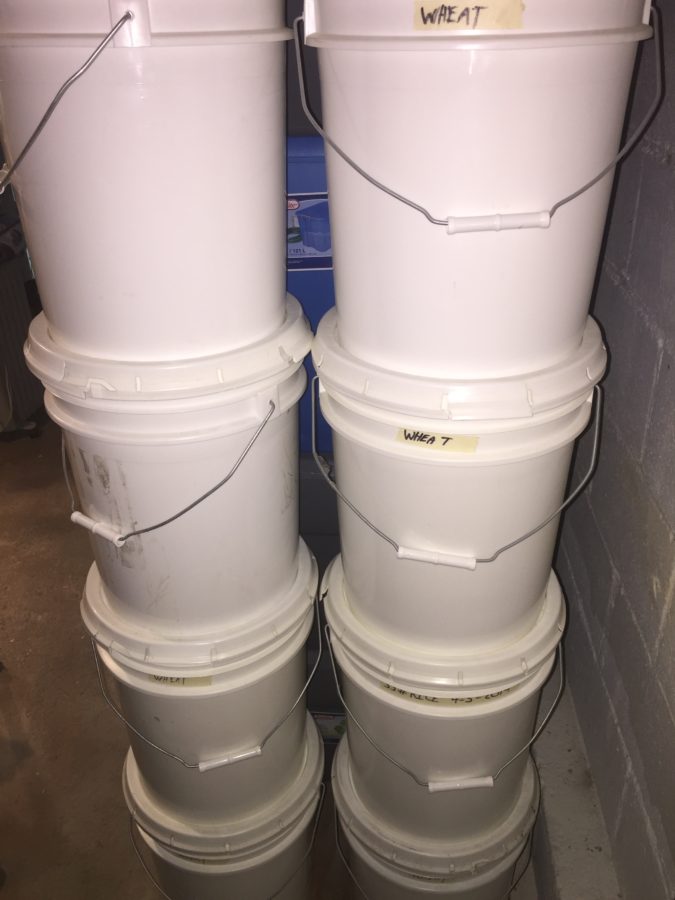
The thought process behind this method is to store your staple foods long-term, then when the time comes you use these as your main source of caloric intake. You use other things like freshly grown veggies, spices, canned goods and hunted game to supplement these main staples. By doing this you can make 3 months worth of food stores last four, five, even six months or more.
Other Considerations
Storing food for the long haul is a great start in the right direction but it is only part of the equation. Don’t forget that you will also need to be able to prepare the foods that you have stored and also clean up afterward. You also may want to store your favorite spices and seasonings as well.
And don’t forget about those comfort foods like candy, pudding, Jello and so on. These have some morale-boosting qualities that everyone will enjoy and will bring some normalcy to the situation, even if for only a short while.